The Process of Automotive Paint Correction: Color-Sanding to Level the Surface, Compounding, Polishing, & Jeweling to a Mirror Finish
What is Paint Correction?
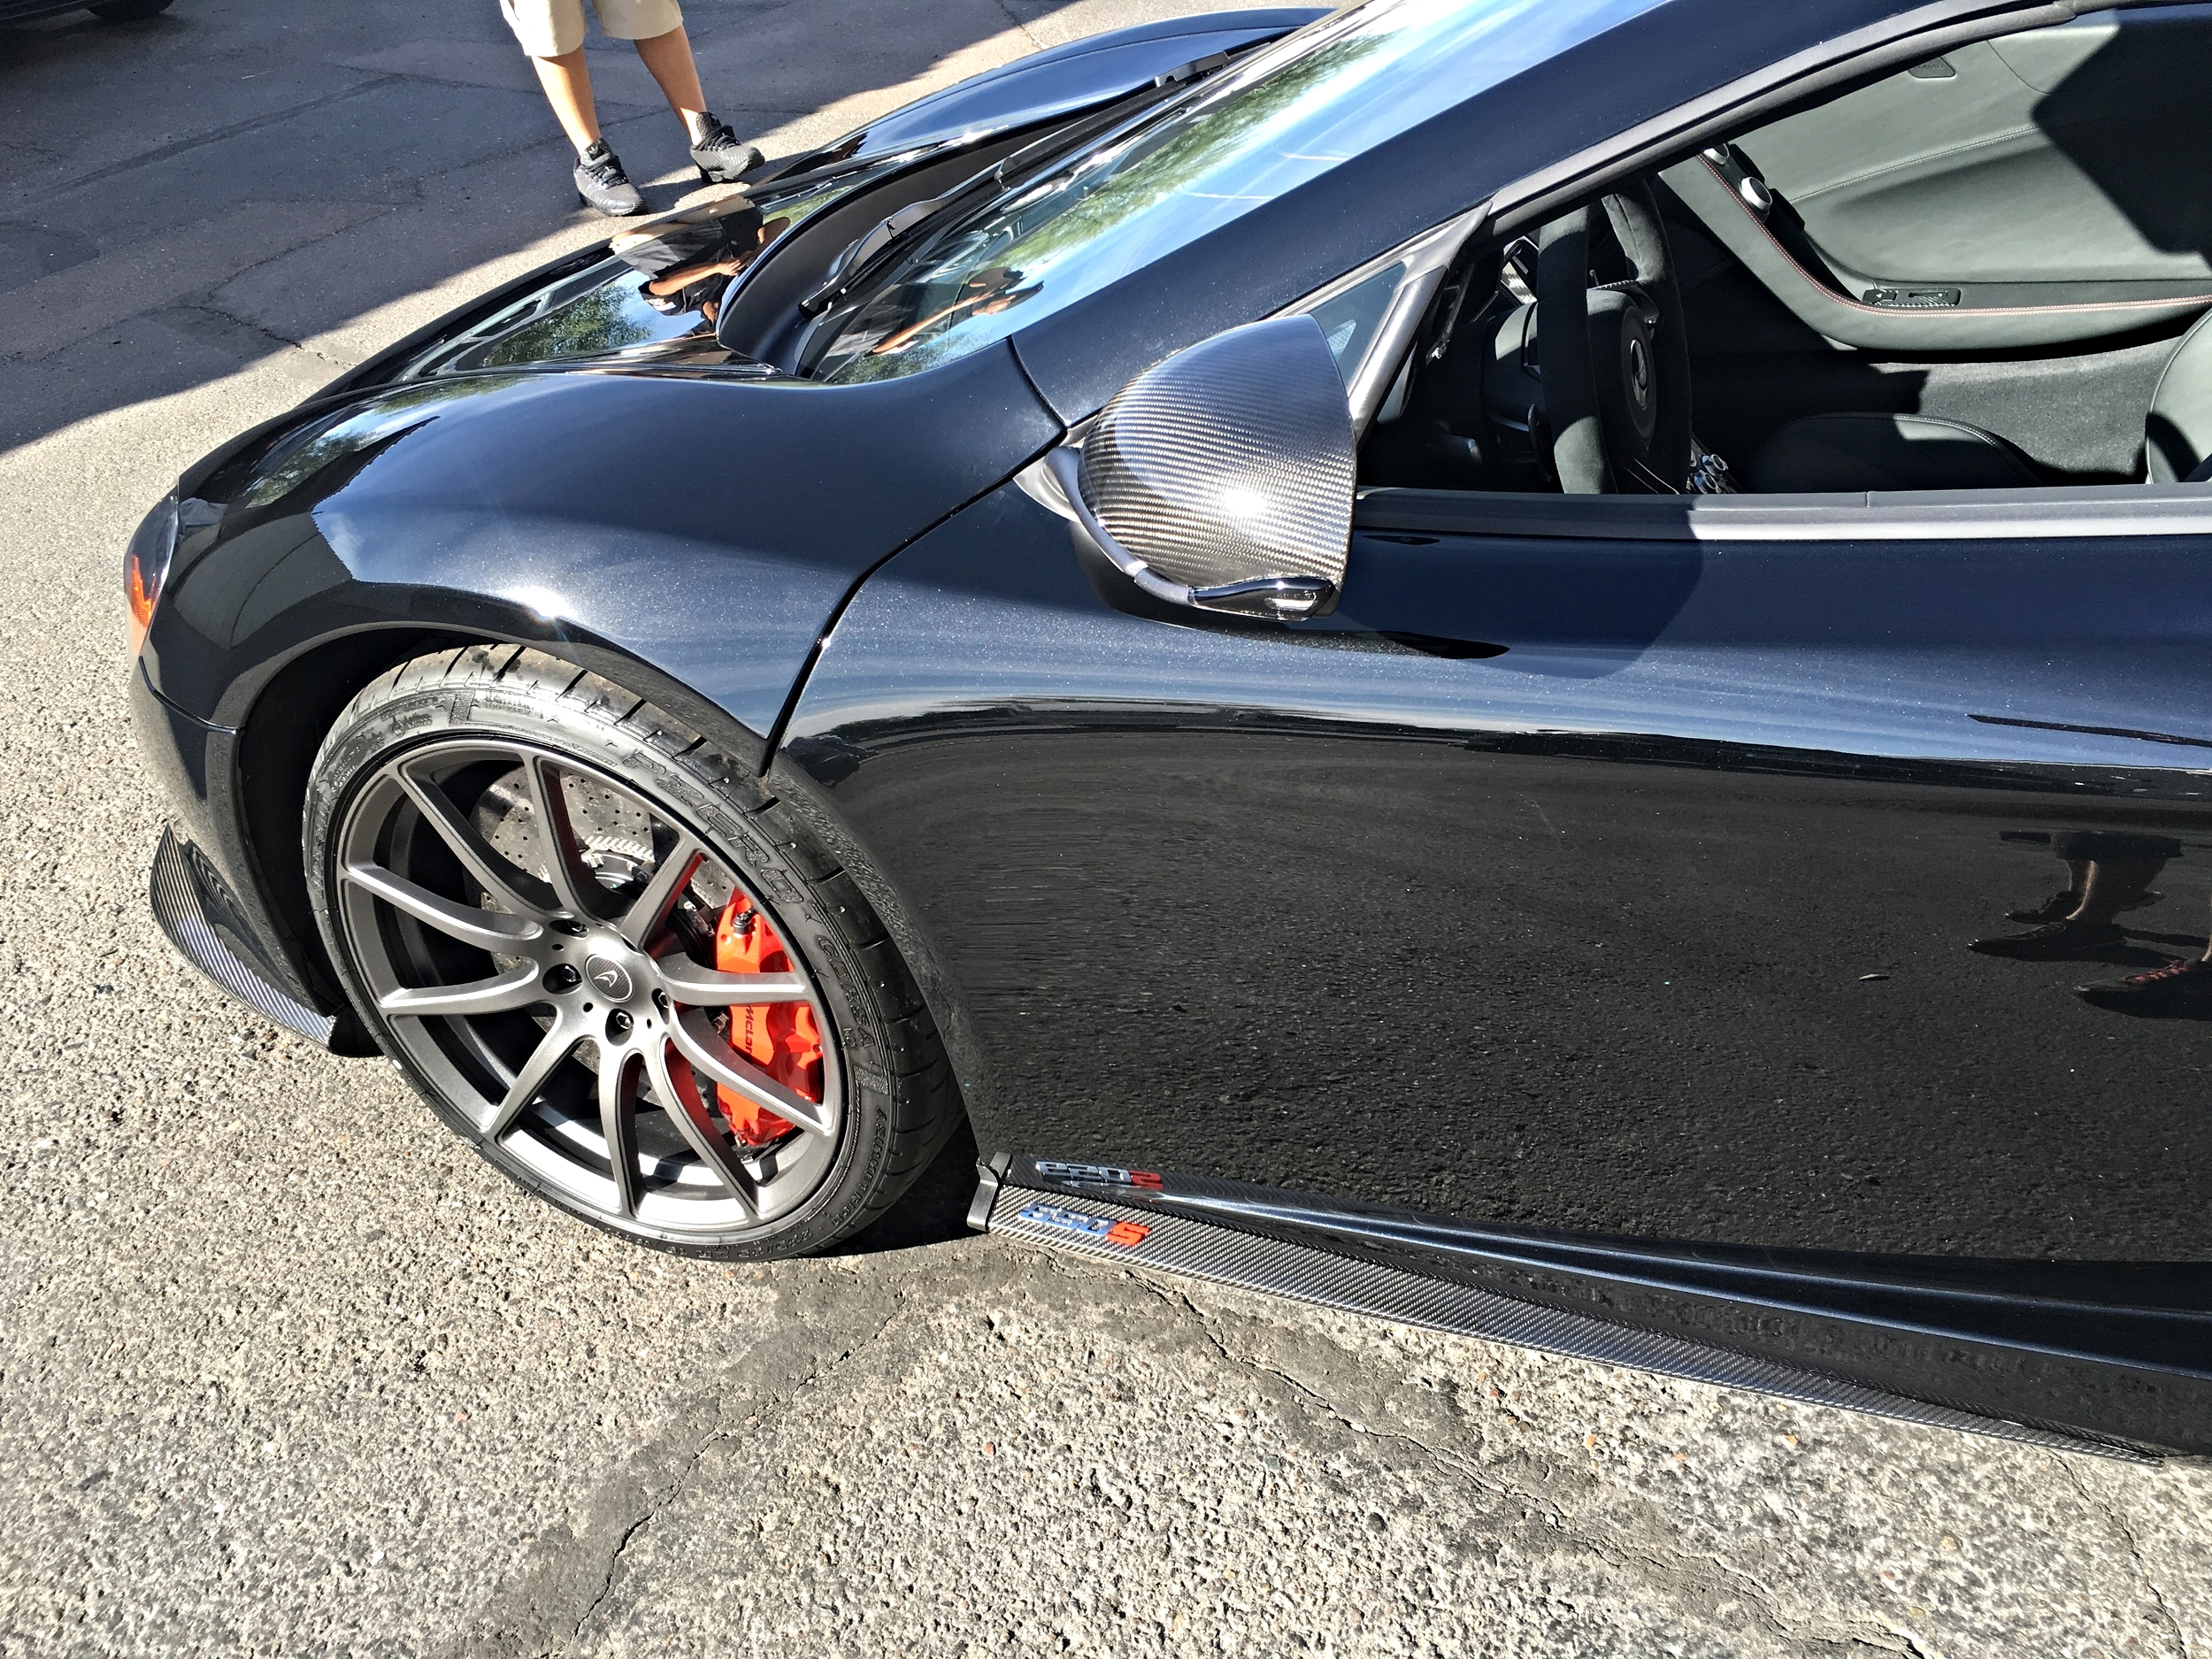
Paint Correction is the process of removing imperfections in an automobile's clear coat. This is achieved by using various techniques, tools and products to massage and/or re level the clear coat back to an almost, if not better-than-new state. Imperfections that may be present in a vehicle's finish are sometimes referred to as "swirl marks" or "spider webbing". This is caused by improper washing and drying techniques and can be prevented by taking cautious measures in the cleaning process. Other imperfections may be caused by bird droppings, tree sap, water-spots, or deep scratches that were instilled by the countless variables a vehicle is subject to on a daily basis. Other imperfections that can be present in paint are those that were put there by an inexperienced and common day-to-day detailer. These fine abrasive scratches are known as "holograms" or "buffer trails". Check out the picture below of a Mclaren 650S that was completely destroyed by the hands of someone who didn't know what they were doing.

Brand New Mclaren 650S, 27 miles: Paint damaged due to improper buffing techniques by a sub-par detailer. The lines you see are known as 'holograms'
Buffer trails are caused when a detailer uses an aggressive pad and/or compound with improper technique which damages the finish. More often than not, these same detailers, once hologramming the paint, will proceed to use a product known as a glaze. Both glazes and even some waxes contain fillers which are applied over top of the finish, filling in and hiding the holograms/fine scratches. These products do not remove the imperfections. Over a short period of time, usually a week or two, these glazes and fillers will begin to wear off and out of the scratches, only to reveal the imperfections that were never removed in the first place.
The proper way to remove scratches is through the process of paint correction. Here at Detail Boss, our processes of re-leveling and truly removing the scratches are what make our brand and services different from the rest. Here is an after photo of the same Mclaren you saw above.
Once properly paint-corrected and protected with a sealant or ceramic coating by us, we also can provide proper maintenance to ensure your vehicle stays looking its best for the duration of its life. For more information about Ceramic coatings, please visit our Ceramic Pro page by clicking here.
Does My Vehicle Need Paint Correction? How can I tell?
We tell our clients that almost any and every vehicle needs or can benefit from paint correction. How can you tell? Have you ever looked into your vehicles paint in the direct sun and it just doesn't seem to have the same deep luster that it once possessed? Do you look closely and notice that it looks like a spiderweb is covering the vehicle? These are scratches known as spiderwebs or swirls. As mentioned above, they are caused by improper washing and wiping techniques. After paint correction and with proper washing methods, swirls can be prevented by avoiding the old "wax-on, wax-off" mentality of washing and wiping in a circular motion. The correct method in washing is to imagine the vehicle in a wind tunnel; you want to wash a vehicle from top to bottom, using straight, linear motions in the direction air would flow over the vehicle. Although it is impossible to not place mild scratches from washing your vehicle over time, washing the proper way will drastically reduce or eliminate the chance of placing swirls back into the finish after paint correction.
The human eye can pick up on a circular scratch easier than a straight one. For instance, take a look at this example of a hood with swirls.

Swirls and scratches hinder the finish of any vehicle. Note the after photograph, scratch and swirl-free!
How is Paint Correction Achieved?
Step 1: Wash and Clay Bar
The first step in any successful paint correction is a proper wash followed by clay bar. Once a vehicle is washed and rid of all free-moving dirt and debris, the vehicle most times is still contaminated with dirt. A vehicle's paint has pores much like a human's skin. Over time dirt and debris from the environment and daily driving accumulates in the pores of your vehicle's clear-coat, giving it a dull appearance and rough to the touch. Clay bar is the process in which these small particles of debris are removed from the pores. This is a vital stage prior to performing paint correction. Why? If one were to begin using a machine polisher on a vehicle surface that wasn't properly cleaned or clay barred, there's a good chance that while polishing, some of the debris will lift from the pores and become lodged in the pad, causing micro scratches to be put into the paint due to a contaminated work area. This in some cases could potentially permanently damage the paint. By ridding the surface of all dirt and lodged debris using clay bar, the surface is now prepared for any wet sanding or paint correction that follows, free of any and all debris and contamination.
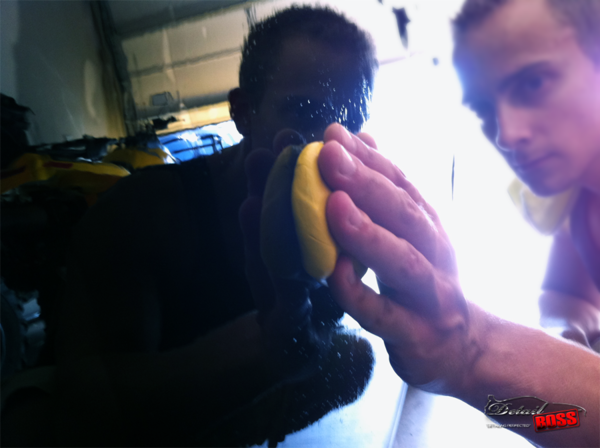
Looking at the clay bar process more in depth, the surface to be clay barred is sprayed down with a lubricated solution, followed by rubbing a soft piece of clay over the surface. Due to the soft, tacky nature of automotive clay bar, dirt, debris and any other contaminants are lifted into the clay bar once rubbed over the surface. Once the clay is dirty, it is plied and kneaded inward on itself to reveal a clean portion of the clay. This process is repeated over each and every panel of the vehicle prior to paint correction.
Once the clay bar stage is complete; a thorough assessment of the paint is given to decide which level of paint correction best suits our client's needs and the vehicle at hand.
Clay bar process being performed on a 1,300 horsepower Toyota Supra
Step 2 (if applicable) Wet-Sanding
If a scratch or blemish in the paint cannot be removed by the standard paint correction processes and techniques, for example a finger-nail deep scratch or orange peel, wet sanding is the prerequisite step that is required to remove them. This process is performed by using automotive sandpaper, by sequential and diminishing grit stages, to level and remove the top layer of clear-coat. After this is achieved, numerous stages of compounding, polishing and jeweling are required in order to make the surface imperfection-free.

Before Paint Correction: Porsche 997

After Paint Correction: Porsche 997

1956 Cadillac Hearse fully sanded and ready for paint correction in preparation for the Barrett Jackson Auto Auction
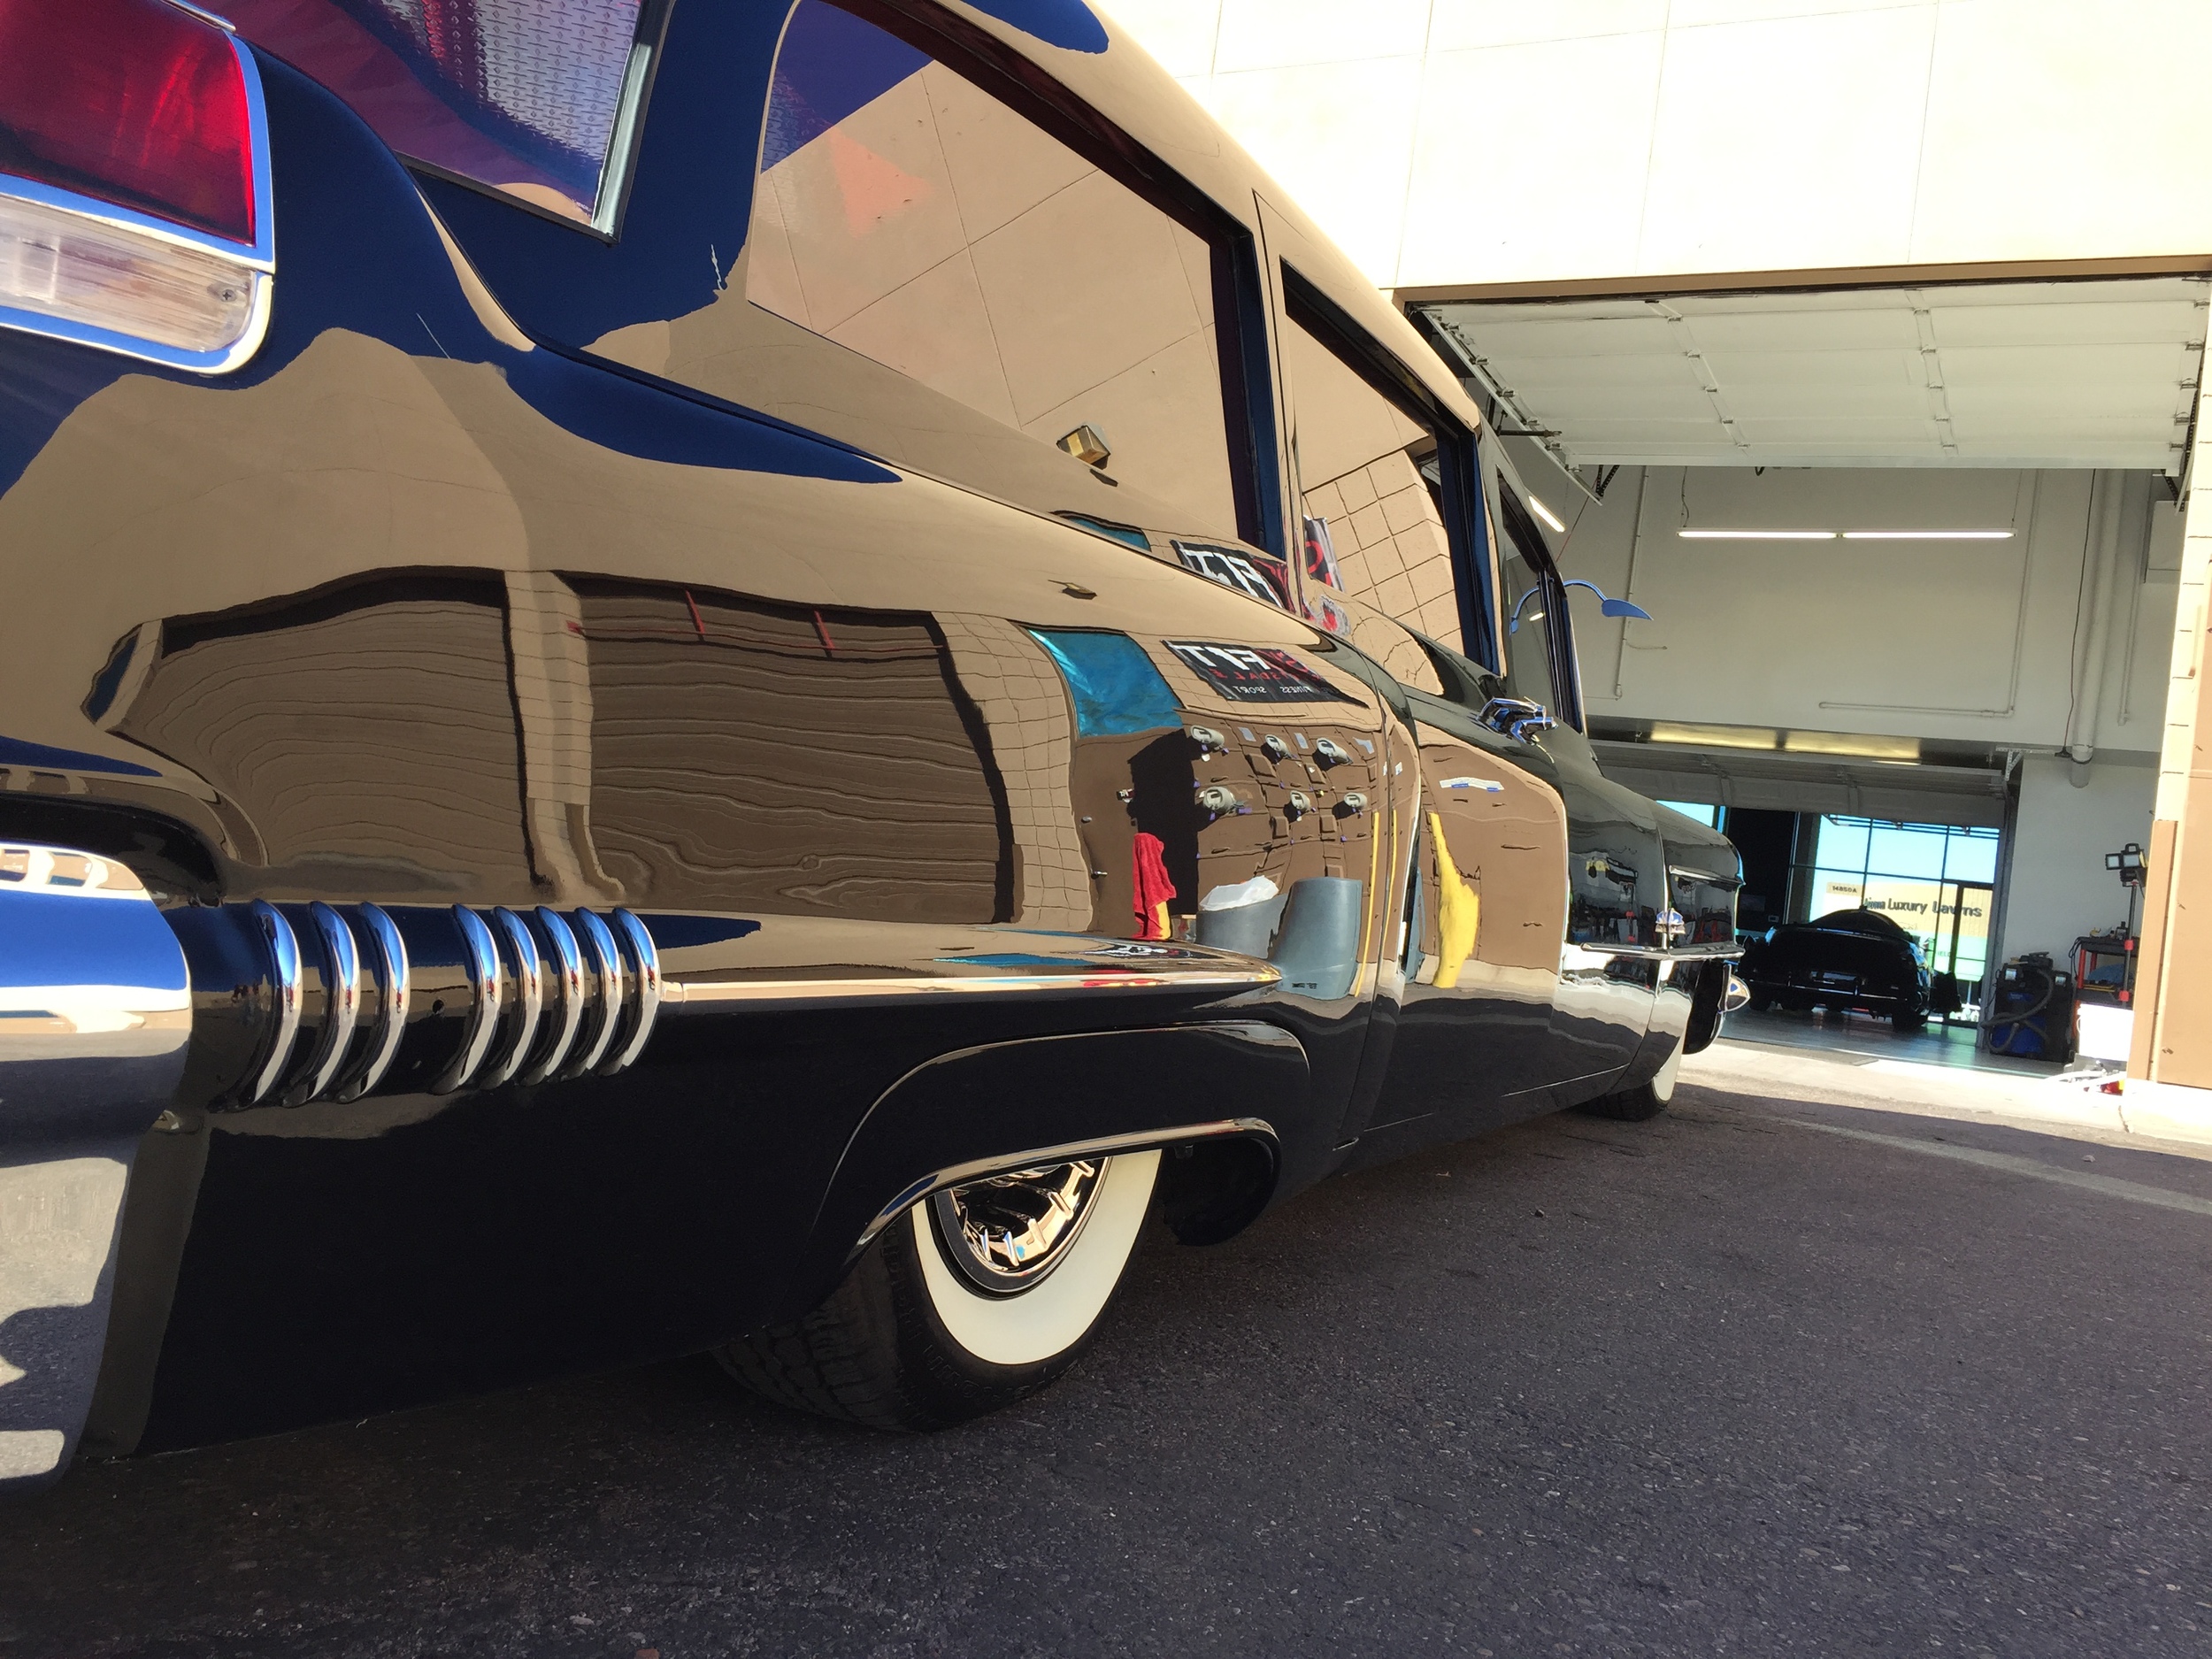
1956 Cadillac Hearse: Complete Wet Sand and Concours Paint Correction to remove all texture and imperfections. Mirror reflective finish

Step 3: Compounding and Polishing
If sanding and removing the sand abrasions through a heavy-compounding step were needed prior to this step, the paint is now ready for the next compounding, polishing and final jeweling stages. Many factors come in to play when paint correcting: the severity of imperfections, paint type (single-stage or base-coat clear-coat), machine, pads, and products.
Often times it takes several stages of polishing to achieve full correction; the first being the most abrasive, the last being an ultra-fine jeweling polish. This is why we at Detail Boss are known for our paint correction. Using the right combination of techniques, the variety products at our disposal, coupled with our knowledge about paint systems, we deliver quality to our clients who are looking to take their vehicle to the next level that other detailing companies simply cannot achieve.
Step 4: Protecting the Vehicle
Once corrected, it is very important to have a layer of protection applied over the clear-coat to protect against UV damage and other variables in the environment. At this point, many detailers use'glazes' as mentioned above to hide imperfections. The types of protection we offer are either a polymer-based synthetic sealant (which lasts longer than typical wax and gives a deeper, glass-like shine), or for the ultimate protection, Ceramic Pro. For more information about Ceramic Pro, click here
These forms of protection will outperform, outlast, and outshine any wax on the market. Wax is a thing of the past. Ceramic coatings form a molecular bond to the surface, adding a durable hard-layer above your vehicle's clear-coat to protect against the environment. With properties such as anti-corrosion, anti-graffiti, anti-static, hydrophobic, scratch-resistant, and self-cleaning capabilities, you can ensure your vehicle will stay looking its best with Ceramic Pro. We are the number one preferred Ceramic Pro installation center in Arizona. We offer a climate-controlled environment, optimal lighting, and the expertise with hundreds of vehicles that have been protected by us in the Scottsdale and Phoenix Valley.

World's Record Holding Porsche 997 for standing 1/2 mile paint corrected and protected by Ceramic Pro.

Magnified image of beading properties of Ceramic Pro on a Mercedes Benz S65 AMG

Paint Corrected Black Paint: Mirror and Flawless Finish